Glass Balustrade Kits Designed for Quick and Simple Installation
For many people undertaking home improvement projects, it is of high importance that that these can be done as quickly and easily as possible without too much disruption. Life is too hectic for unneccessary complications and hassle that bring additional stress. If you’re a builder, it may be the pressure of time from others involved in the project that leads to you requiring a high quality and reliable, yet fast and simple solution. Glass balustrades are often the finishing touch for outdoor living projects in gardens, on balconies, and roof terraces. It is highly beneficial to have glass balustrade kits that are prefabricated before dispatch and delivery. If it’s a DIY project, it’s likely by this stage you’ll be itching to get using your new outdoor space. If you’re a builder, you’ll be saving costs and time on installation, providing a more efficient service, and offering better value for your clients. This short blog post will detail the installation instructions for one of our most popular designs, and how we design our glass balustrade kits with simplicity in mind for end users and builders alike.
Installation: Base Mounted Mini-Post Frameless Glass Balustrade
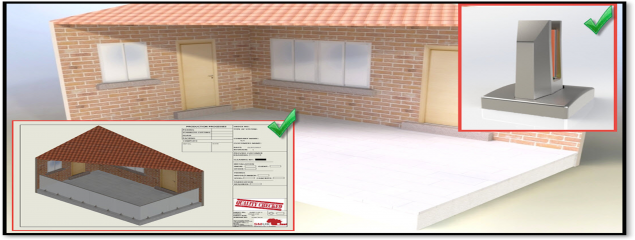
1.Read the plan and check the items are correct.
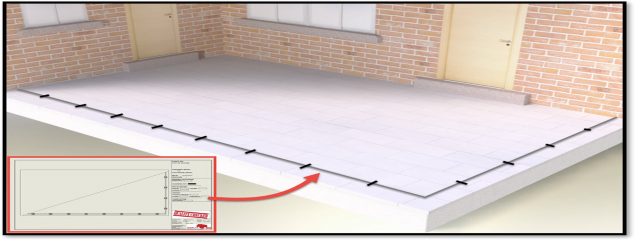
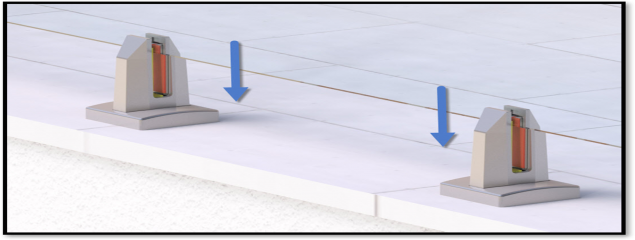
2. Mark out a line and delineate the Mini-Post centrelines as per the plan provided.
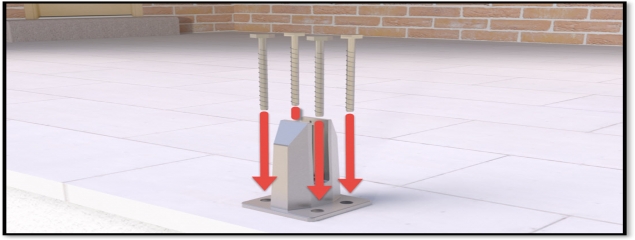
3. Using a template, mark hole centres and drill all holes required to suit fixings (contact us for approved fixings for concrete, brick, or block work). Clean holes to remove dust. Fix posts into position using the appropriate fixings.
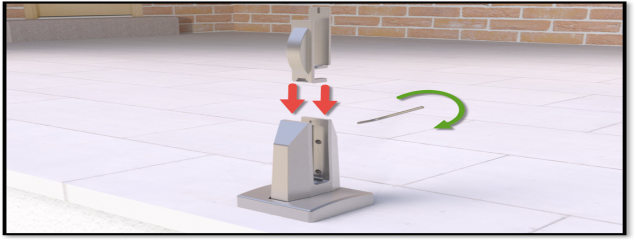
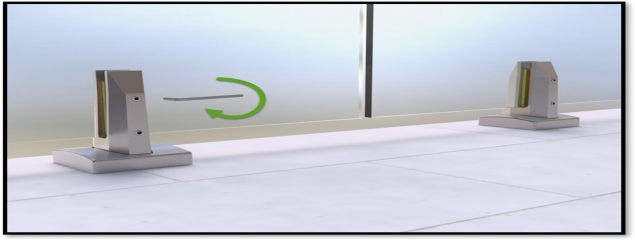
4. Slide cover plate over, loosen grub screws with the 6mm allen key supplied, and align metal inserts into the Mini-Post. Locate the correct coloured plastic inserts for the correct glass thickness (information table provided).
5. Carefully lift the glass into the Mini-Post and shuffle into position. From the centre of the Mini-Post, the glass should overhang the Mini-Post by a quarter of its width.
6. Tighten the grub screws on the front of the Mini-Post using the 6mm Allen key supplied to align the glass. The bottom screw adjusts the glass inwards and the top screw outwards. Use a spirit level on from of the panel to confirm alignment. Do not over tighten the grub screws
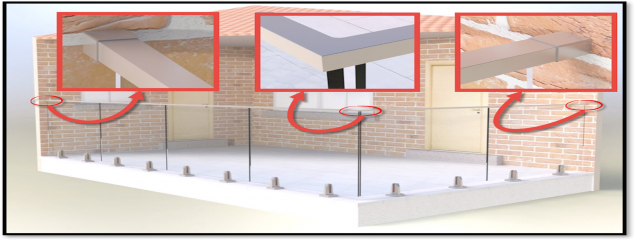
7. Position the gasket on to the top edge of the glass. Tape can be used if required to hold into position. Apply lubricant (washing up liquid recommended) to the top of the gasket. Position handrail over gasket and gently tap down (cover handrail for protection if using a rubber mallet). Any wall brackets and elbows must be secured into position prior to installing handrails.
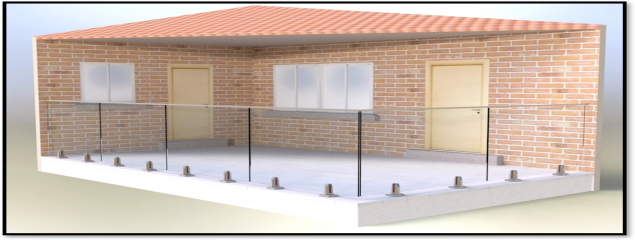
8. Finally, clean the glass with the cleaning kit provided and enjoy your new balustrade.
Whilst our glass balustrade kits are simple to install, we would always recommend more than one person to handle the glass panels due to their size and weight.
We hope this has helped you realise how simple our glass balustrade kits are to install. We have a range of profiles available to suit a variety of installation scenarios and design preferences. These include framed and semi-framed glass balustrade systems. Another popular choice is the channel system for an elegant frameless glass balustrade. However, due to their economical cost, superior durability, and versatility, the Mini-Post glass balustrade kits provide the best value for our customers. Available as above, or in edge mounted, side mounted, or core mounted profiles.
If you would like further information, please do not hesitate to contact one of our balustrade experts on 01254 825594 or sales@elitebalustrade.com. Don’t forget to follow us on Facebook and Twitter!
Published: 25th September 2017
